Get in the zone: A guide to zone focusing in street photography
You see it happen for a split second, you missed the shot and it stings. It nags at you in the back of your mind as you walk on, frustrated, wondering how good that shot would have been. It’s a feeling I call "three dogs", named after a shot I missed which still sits uncomfortably in the back of my head. It involved dogs. Three of them.
Missing the shot because you weren’t ready, or paying attention sucks. Missing the shot because your auto focus decided it liked the bush in the background really sucks. This is where the technique of zone focusing comes in handy. It solves the bush issue, and can help with the ‘not ready' issue, because you have far less to do and think about when that moment happens.
What is zone focusing?
Zone focusing is a technique where you manually pre-set your lens to a specific focusing distance and utilise a narrow aperture to maximise your depth of field. Instead of focusing on a subject, you create a "zone" or window of acceptable sharpness. As long as your subject steps inside that physical window, they will be in focus.
This technique offers immense flexibility. If you like intimate, up-close street portraits, your zone can be set to 3 to 5 feet. If you prefer wider, environmental storytelling, you can lock your zone from 10 feet to infinity.
Why it’s ideal for street photography
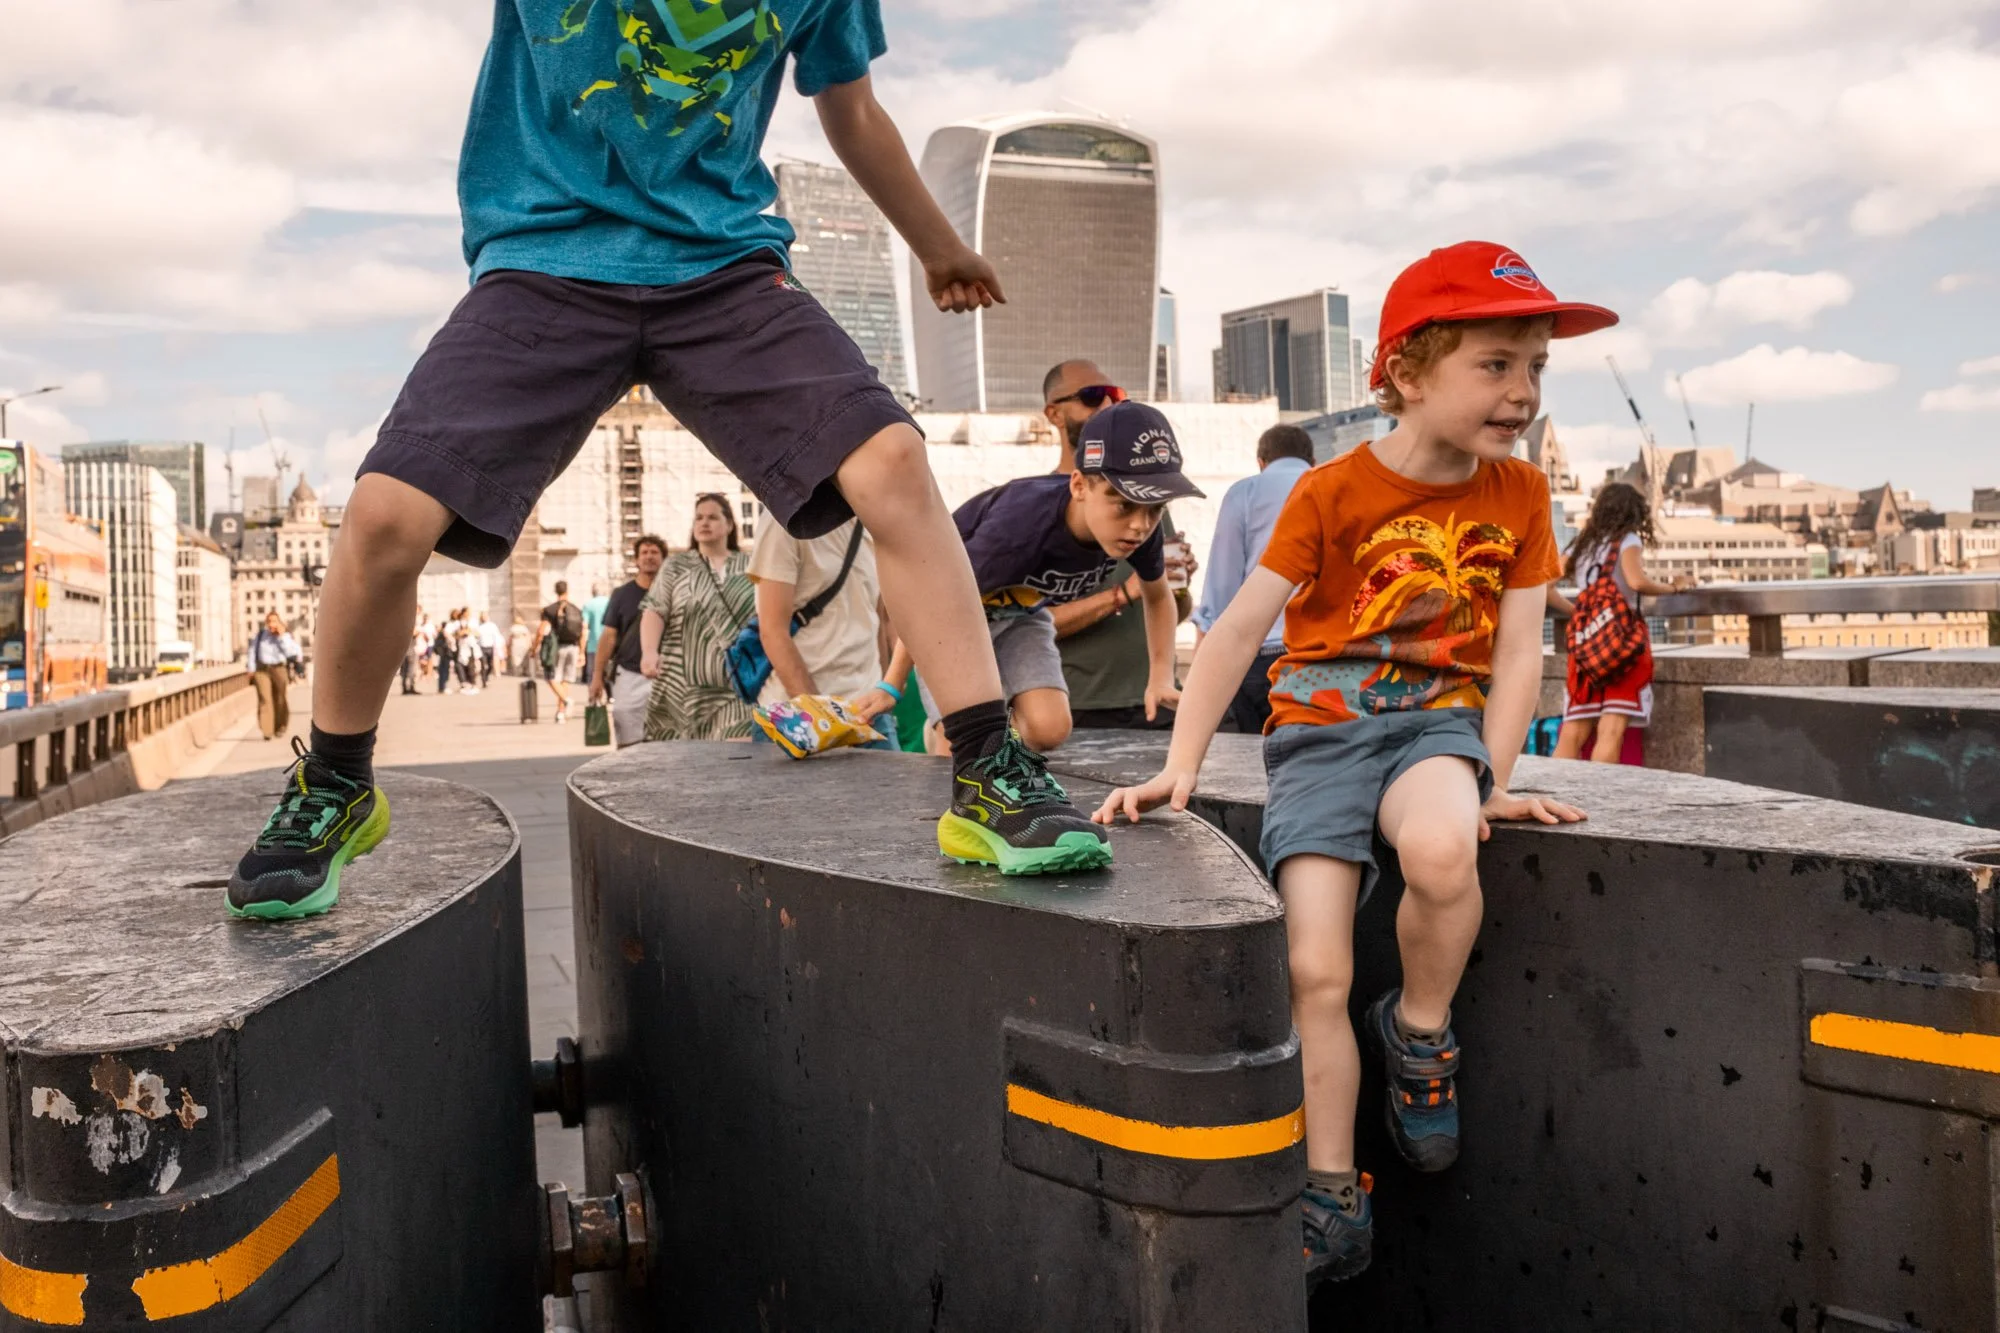
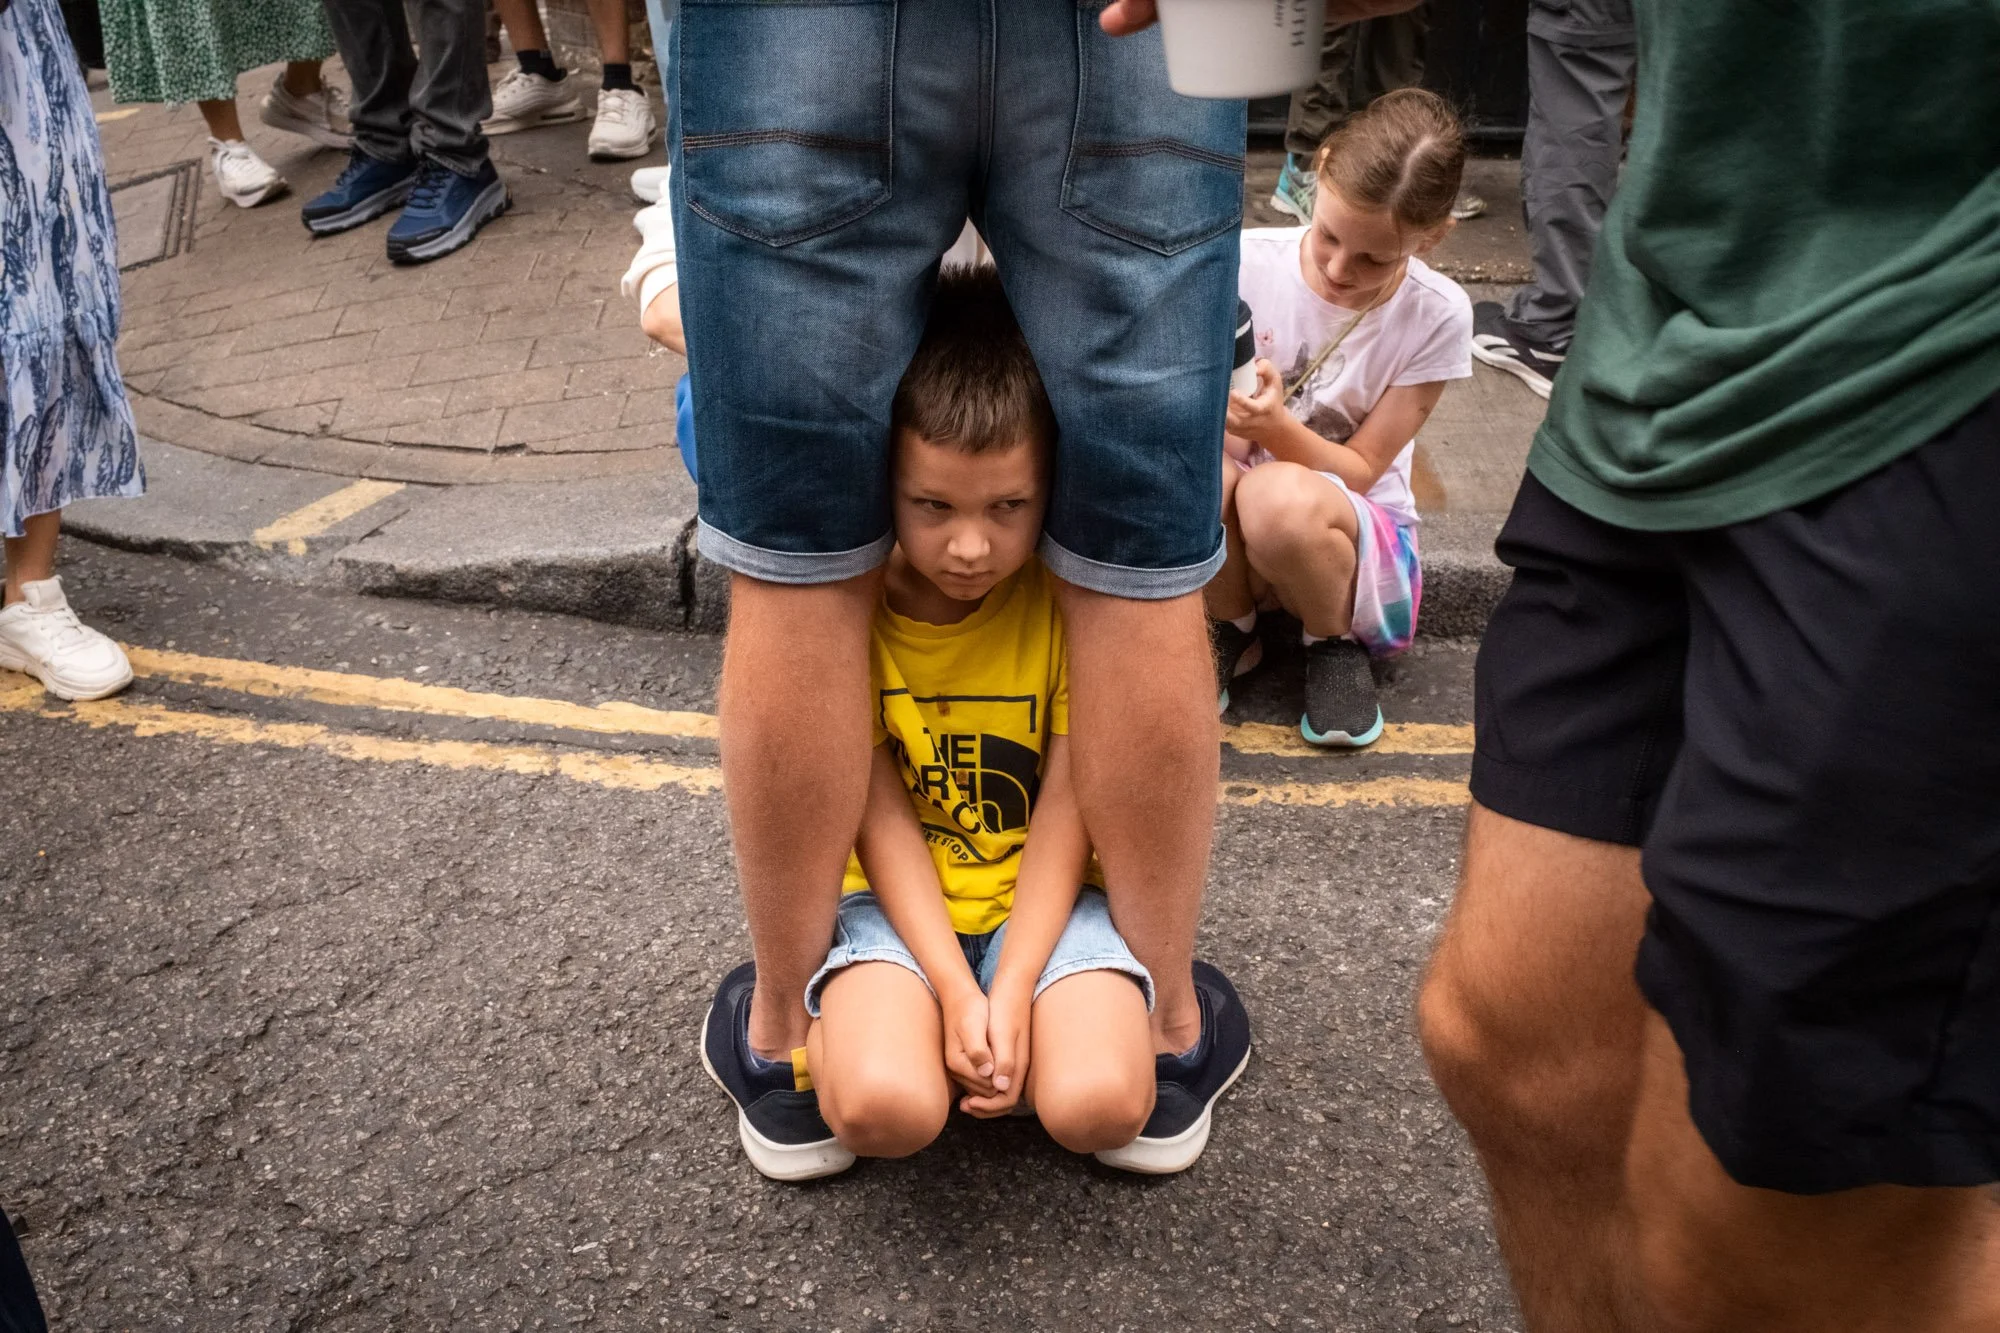
Speed: The street moves faster than any autofocus system. Eliminating the time it takes for your lens to hunt for focus ensures you never miss a split-second gesture.
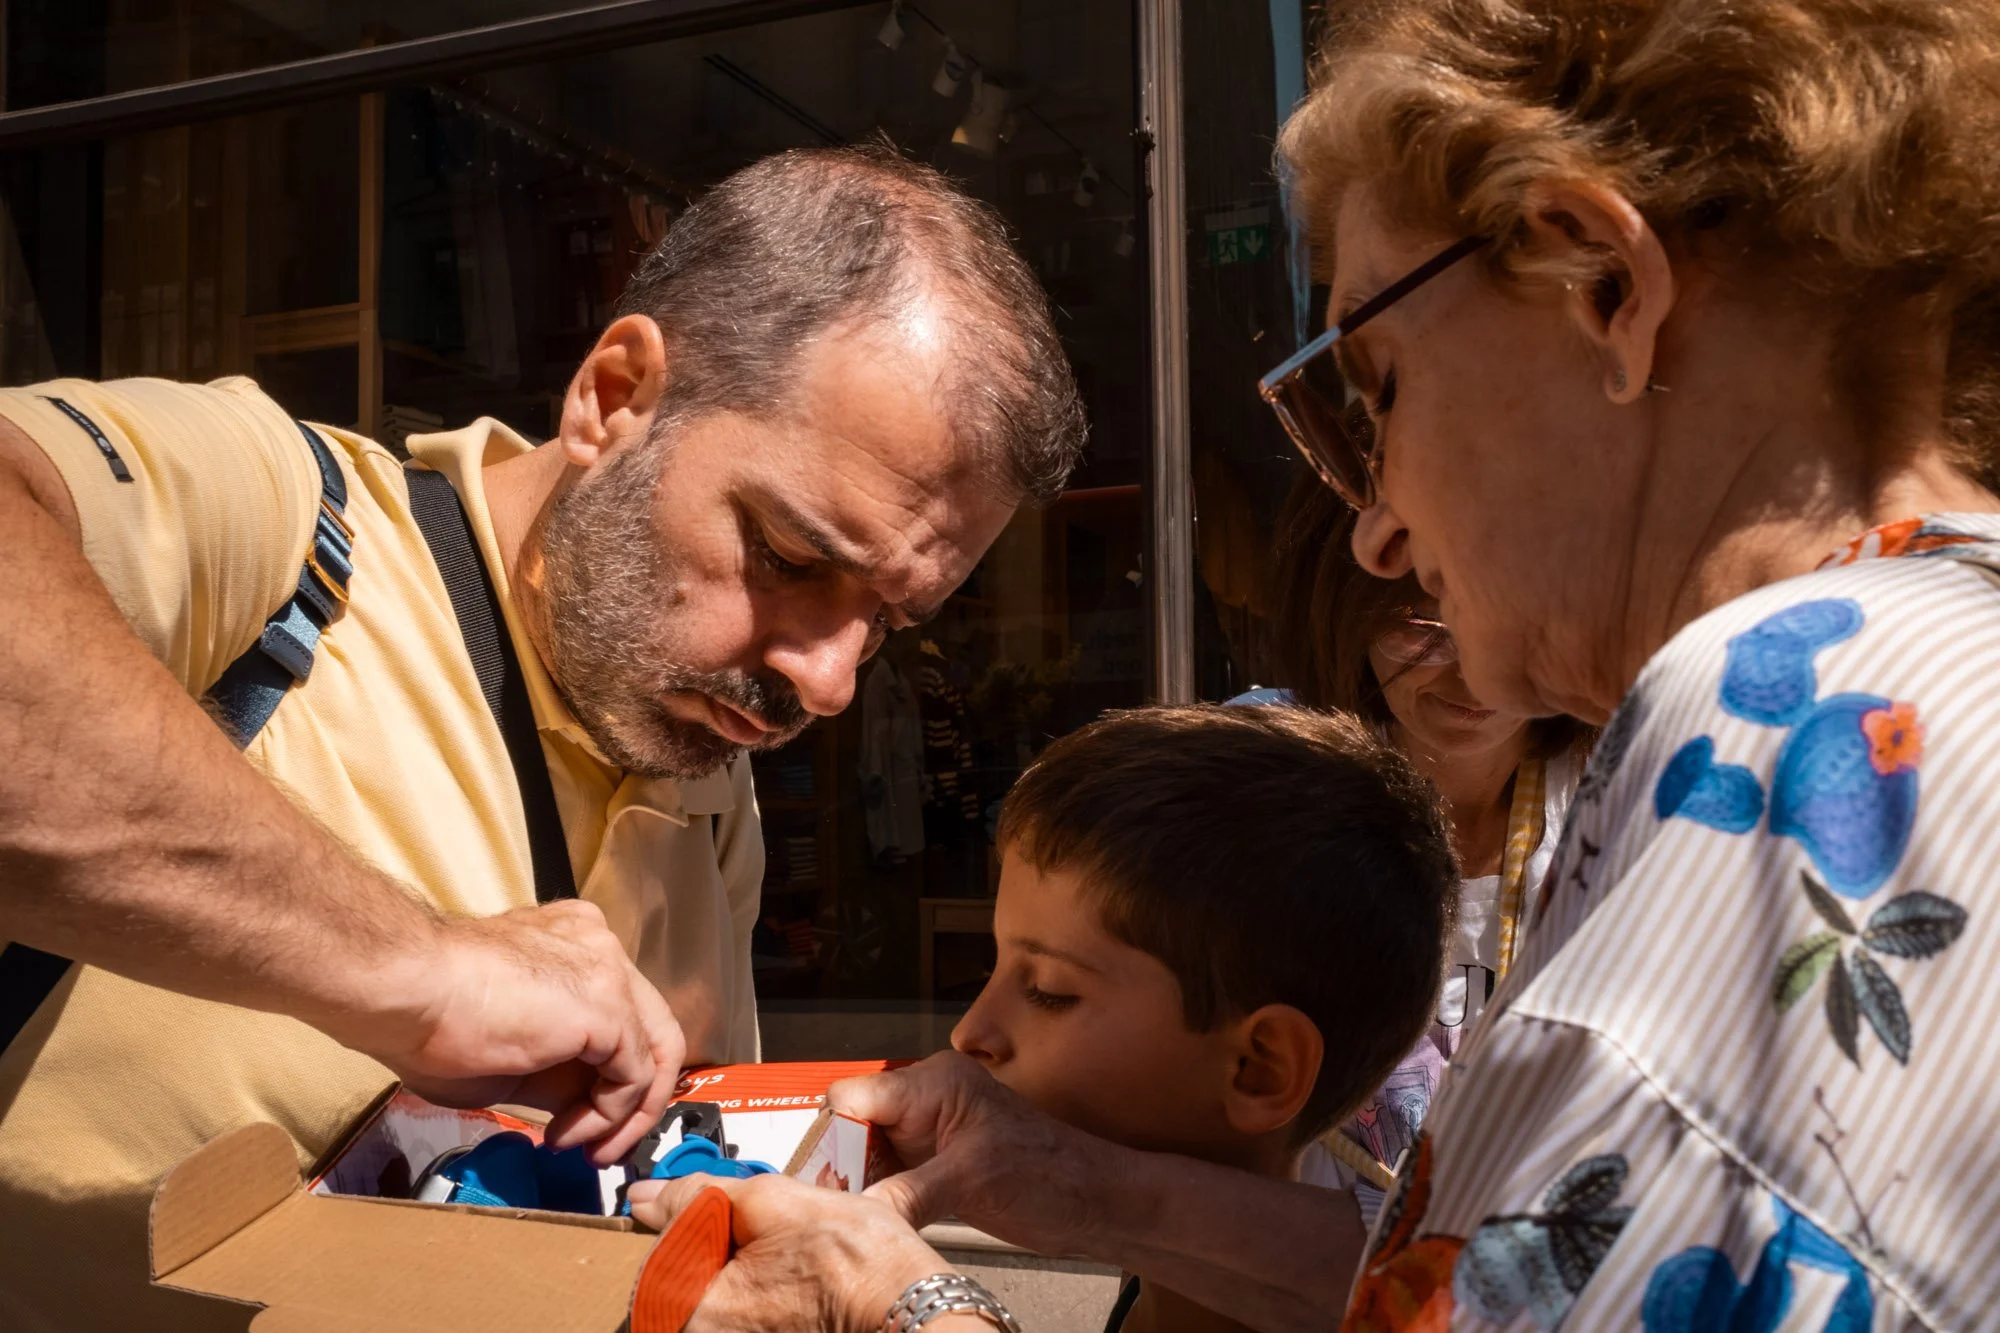
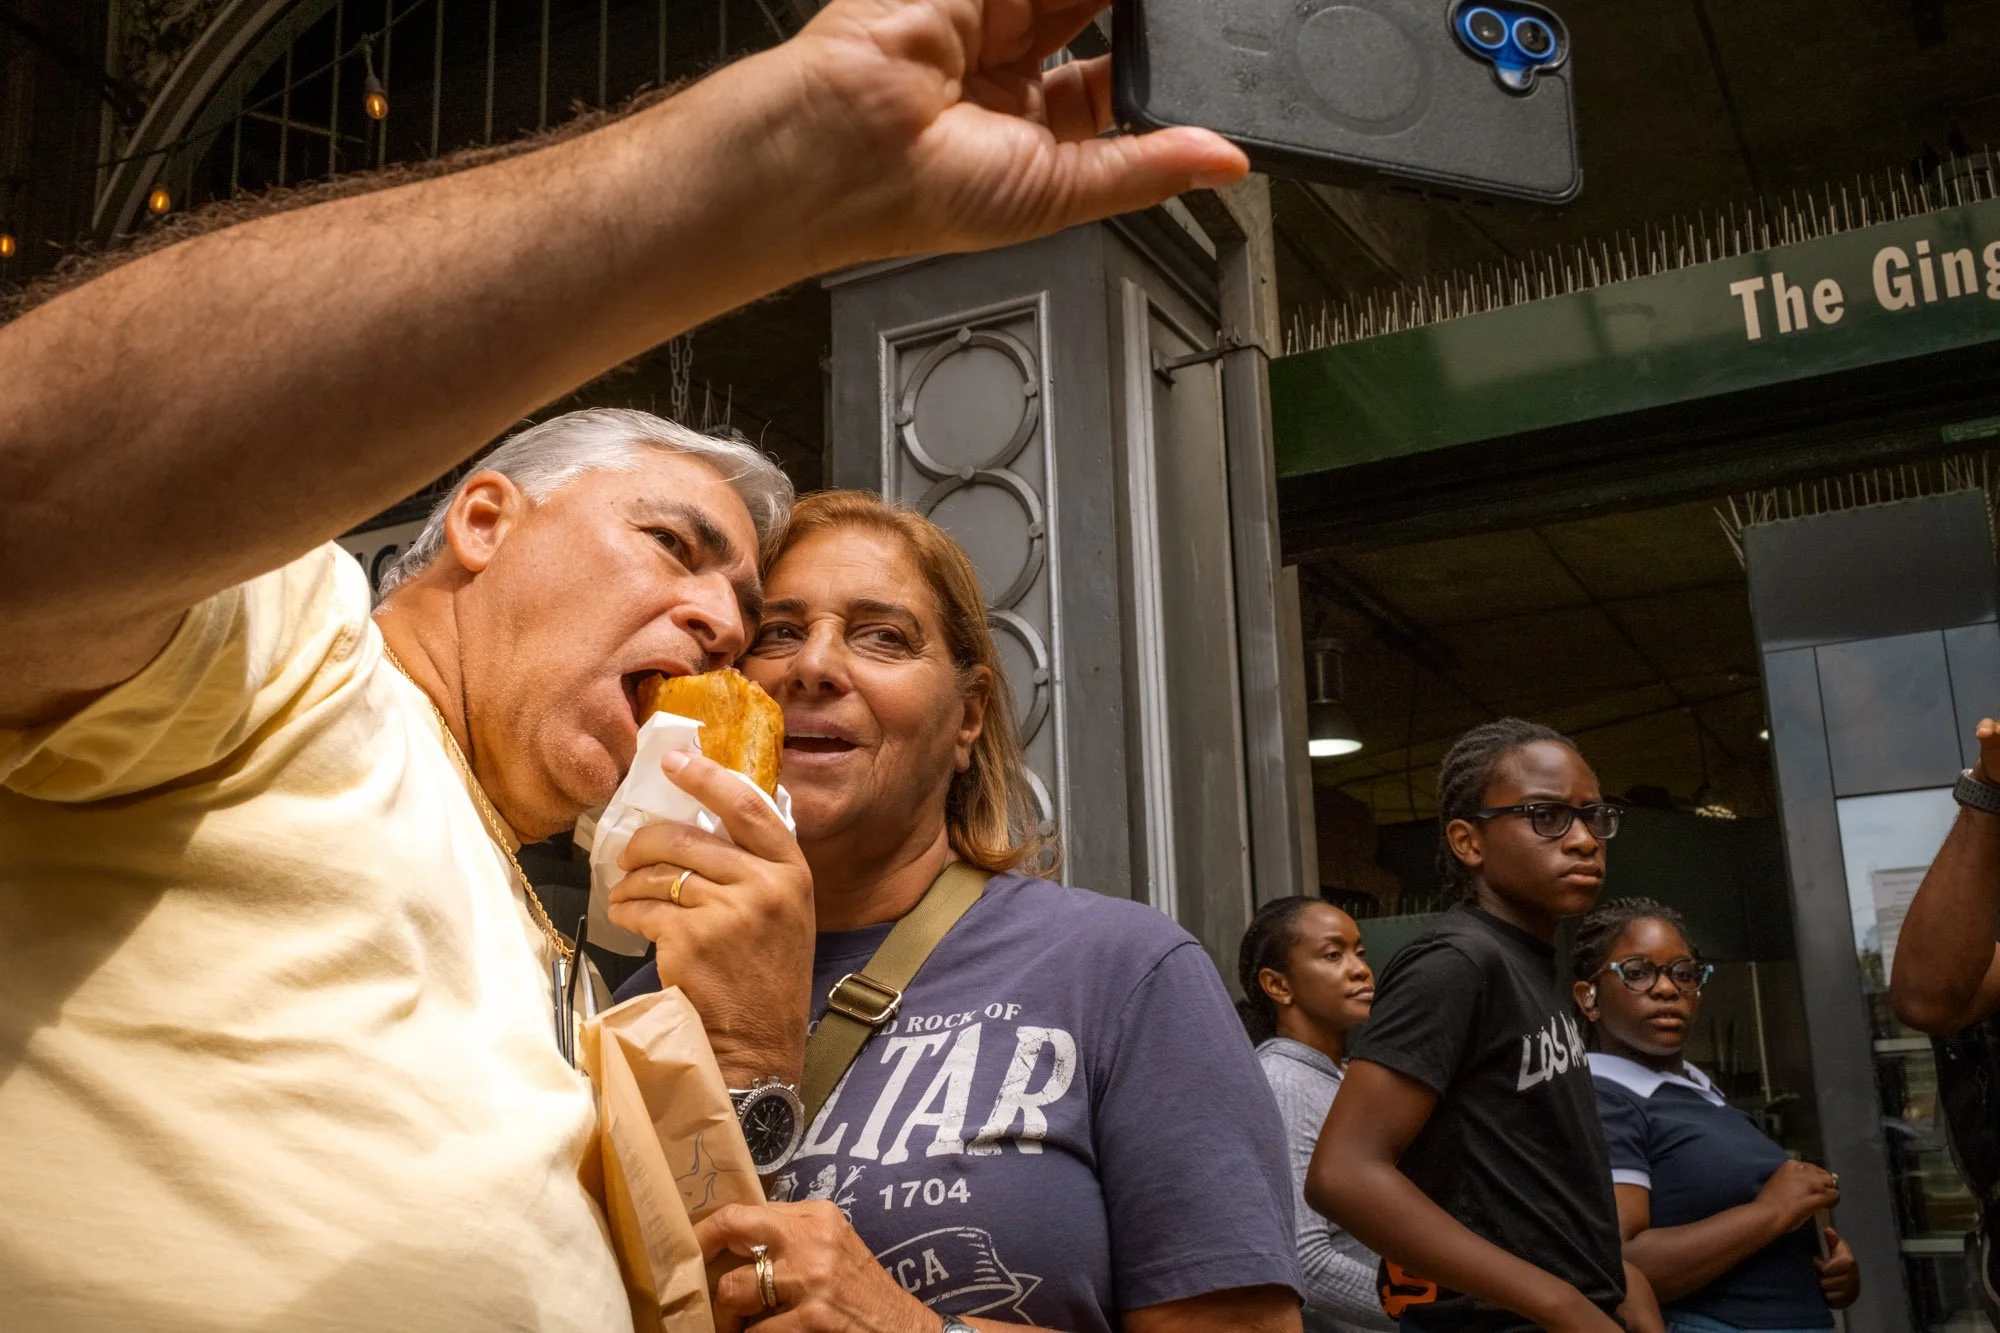
Stealth: Raising a camera to your eye immediately alters the behavior of the people around you. Zone focusing allows you to shoot from the hip or chest level seamlessly, keeping the scene authentic and comfortable for everyone.
Creativity: By removing the need to focus, you are free to concentrate entirely on composition, timing, and catching that unscripted, candid moment.
Understanding depth of field
Before setting up your camera, you need to understand the mechanics of creating a deep "zone" of sharpness. Your total depth of field is the area in front of and behind your exact focus point that remains acceptably sharp. This is governed by three primary variables:
Aperture: Smaller lens openings (higher f-numbers like f/8, f/11, or f/16) create a significantly deeper depth of field than wide openings (like f/2 or f/2.8).
Focal Length: Wider lenses offer a deeper depth of field. A 28mm lens keeps far more of the environment sharp than a 50mm or 85mm lens.
Focusing Distance: The further away your designated focus point is from your lens, the deeper your total depth of field becomes. Focusing on a point 12 feet away gives you a much larger safety buffer than focusing on something 4
In any given depth of field zone, the window of acceptable sharpness extends farther behind your exact point of focus than it does in front of it.
How to zone focus
Base settings
To maximise your zone and give yourself a healthy margin for error, configure your camera with these baseline settings:
The Lens: Choose a wide-angle prime lens. A 24mm, 28mm, or 35mm is ideal. Anything tighter, like a 50mm will make your depth of field window too narrow to rely on safely.
The Exposure Mode: Switch your camera to Manual mode or Aperture Priority.
Aperture: Set the aperture between f/8 and f/16 depending on your available daylight. I personally use f/8 as it offers a great balance between depth of focus and light.
Shutter Speed: Set it to 1/500s to freeze subject motion and eliminate camera shake from shooting on the move.
ISO: Adjust your ISO high enough to support your fast shutter speed and narrow aperture.
Prefocus the lens
Determine your preferred shooting distance based on your personal style or preference.
Look at your lens's physical distance scale (if it has one) and manually turn the focus ring to your target distance, for instance, 5 feet.
If your digital lens lacks a physical distance scale, it may have a digital scale displayed on the back screen and/or EVF. Failing this, find a static object on the street that sits at your desired distance. Autofocus onto it once, then switch your to Manual Focus to lock the focus distance in place.
I generally zone focus at 3-5 feet, and I quickly set this by autofocussing on the ground while holding my camera at around chest height.
Shoot
With your zone set up, it’s time to start shooting. Have the camera ready to shoot and once the subject is in the focus zone you’re good to go. It can be worth setting your camera to shoot continuously to capture the subject at a range of distances. This will increase the chances of the shot paying off.
Train yourself to estimate distances
Zone focusing is incredibly forgiving in bright, direct sunlight. However, if you are shooting in low-light environments, like a subway station, an alleyway, or during early morning or evening, you will be forced to open your aperture to catch enough light. When you open the aperture, your "zone of sharpness" shrinks dramatically. Success under these conditions relies entirely on your ability to accurately judge physical distance.
Active focusing
Keeping your finger on the focus ring and getting used to its sensitivity, how much movement is required to adjust the focus by 2 or 3 feet, checking the distance gauge as you do. Soon, with enough practice you’ll adjust the focus distance without looking and getting subjects in focus will become second nature.

Affordable photography
One of the most appealing aspects of zone focusing is that it does not require expensive, high-speed lenses. Since the technique relies on a deep depth of field, you can use affordable lenses that don’t feature expensive fast apertures.